There's been a decent amount of talk lately about utilizing the ServiceWorker API to serve up a site offline. I believe the scenario has been explained in every post about service workers, but I'll re-iterate it here. Having an offline version of your site is great for folks taking the subway, people with spotty cell service, or anyone who doesn't have an immediate internet connection. In the next couple of blog posts, I'll walk you through my journey into the ServiceWorker API.
This first post will be an overview of what exactly a service worker is, and the prerequisites that exist to start working with them.
What is a service worker?
This excerpt is taken from the MDN page on the service worker API.
Service workers essentially act as proxy servers that sit between web applications, and the browser and network (when available.) They are intended to (amongst other things) enable the creation of effective offline experiences, intercepting network requests and taking appropriate action based on whether the network is available and updated assets reside on the server. They will also allow access to push notifications and background sync APIs.
That's pretty awesome. The service worker API provides us a means to detect wether or not the user can connect to the network, send them push notifications, and sync APIs in the background. My first thought when I read this definition from MDN was probably the same as yours. It seems like that API could leave someone pretty vulnerable to a man-in-the-middle attack.
If you read a couple paragraphs down on the MDN page, you'll notice that to use the ServiceWorker API, your URL must be behind a valid SSL certificate. Thus ensuring that the request we are making is us, and not some shadowy internet figure.

So the first step into the pursuit of an offline available website is to ensure your site is being served via https.
SSL-ock it down!
I am utilizing GitHub pages and Jekyll for my blog. What we're going to need to do is tell GitHub pages to use the HTTPS version of our site. So in the root of my site directory i have a file called CNAME. In that file we need to define our custom URL.
In my case, the only thing in my CNAME file is the following:
https://dommagnifi.coNow, I'm not a super savvy hosting person, so forgive me if my instructions on the next few steps are a bit fuzzy. Do feel free to shoot me an email (hello [at] dommagnifi.co) with suggestions for improvements and I'll be happy to consider them.
This next section involves updating nameservers. This can take a few hours to propagate so be patient.
So my next step was to ensure that my domain is using the secure URL. Unfortunately GitHub pages does not allow you to upload an SSL certificate for use. Thus you'll need to use a custom domain, and ensure that the DNS for your domain name is pointing to secure servers.
CloudFlare offers SSL on their free account, so that's what I'll be using to obtain an SSL certificate for my domain name.
After running through the signup, CloudFlare will automatically detect your DNS records. Once CloudFlare does it's thing, it'll prompt you to change the nameservers. CloudFlare provides you with specific nameservers to switch over to. Log in to your domain registrar, and copy and paste your new nameservers.
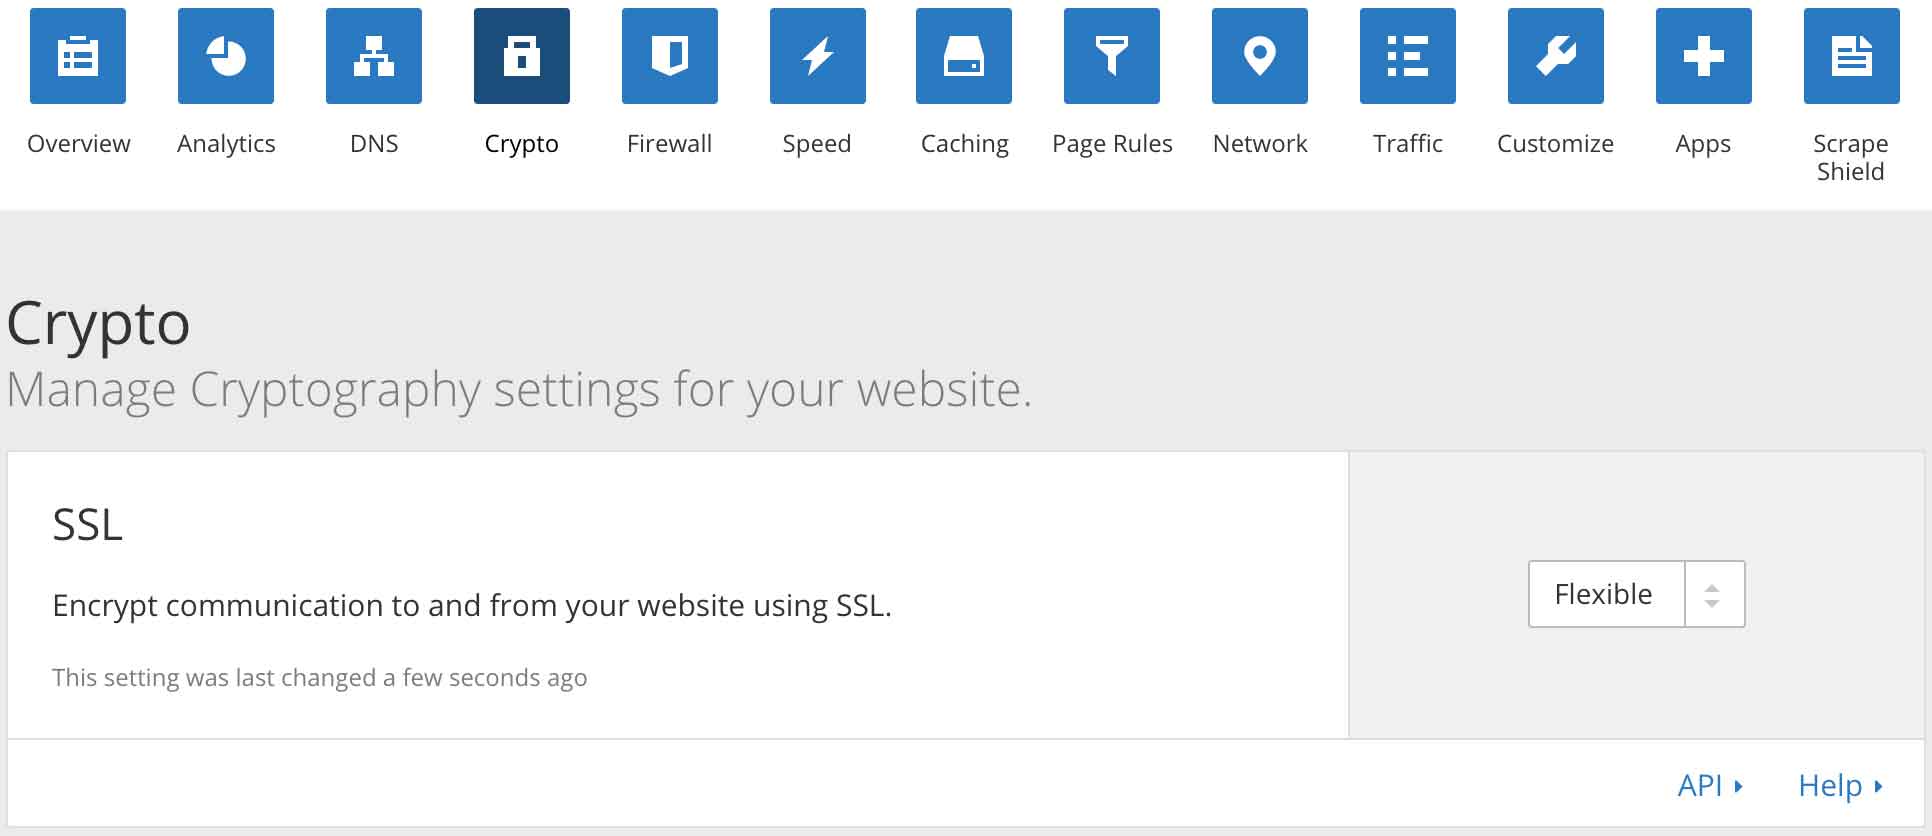
Once all is saved, head back over to CloudFlare real quick, click on the "Crypto" tab, and set your SSL certificate to "Flexible". I've attached a screenshot below.
Lastly, it will probably be beneficial to force all traffic to use the HTTPS version of your site. In CloudFlare, navigate to the "Page Rules" tab, and set your URL to always use HTTPS. You can also use this section to forward the www version of your URL to non www, or vice versa, whichever you prefer.
Several minutes later...

Wonderful! Now my site is being served up via https, and in the next post we can begin diving in to some javascript to get the service worker running.